Last Updated / Reviewed: 01/09/2024
Execution Time: 30 minutes
Goal: Creating an engaging, compelling automated welcome email in MailChimp.
Ideal Outcome: You will create a welcome email that is in-sync with your brand, and which will be sent automatically to your fresh newsletter subscribers.
Why this is important: You need to create a good relationship with your subscribers – and a great welcome email can give you a good jump-start into this. Consequently, you will stand a much better chance of engaging your subscribers and making them want to come back to your business.
Where this is done: Mostly in MailChimp, an online service that allows business owners to automate their newsletter welcome emails.
When this is done: Preferably, as soon as you start building your email list – this way, the welcome email will be all set up by the time you get your first subscribers.
Who does this: You, your content writer, your email marketing specialist, or a digital marketing agency you have employed.
Environment setup
- Create an account at MailChimp. The service is completely free of charge for small businesses that don’t have more than 2,000 subscribers and/or don’t send more than 12,000 emails/month.
- Once you have successfully created a new MailChimp account, go ahead and verify your email domain.
-
- Under “Website” on the navigation menu, click “Domains”, followed by “Add & Verify Domain”.
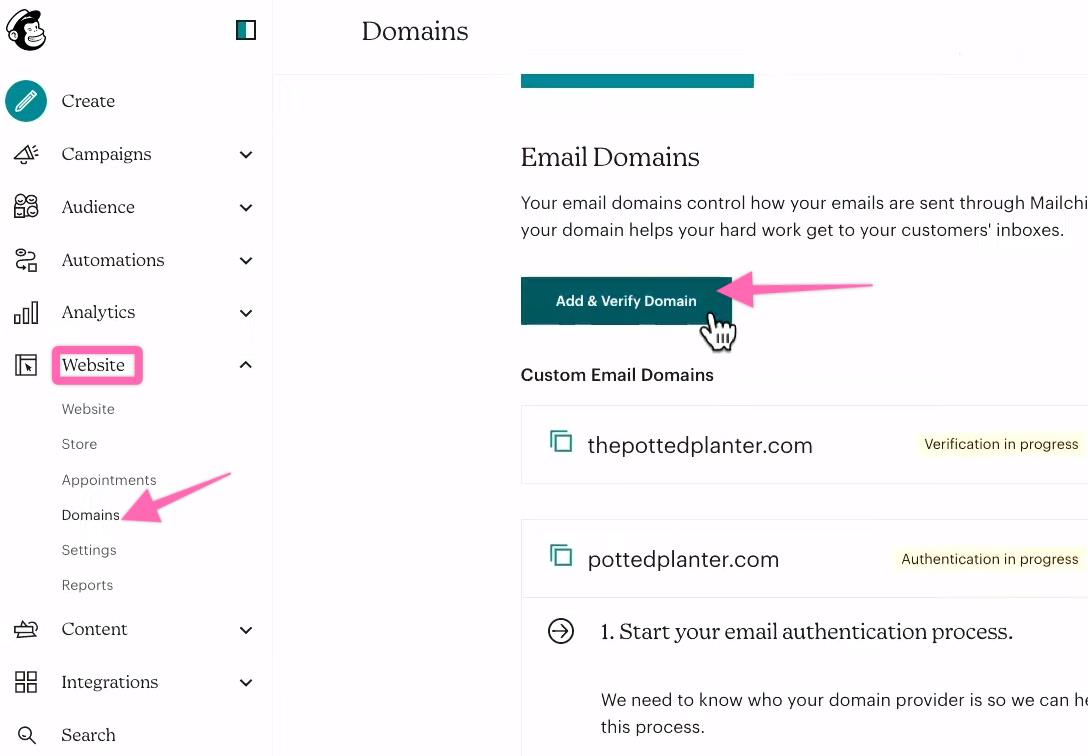
- Under “Website” on the navigation menu, click “Domains”, followed by “Add & Verify Domain”.
-
-
-
- Enter your email address and click “Send Verification Email”. Click on the email in your inbox and verify.
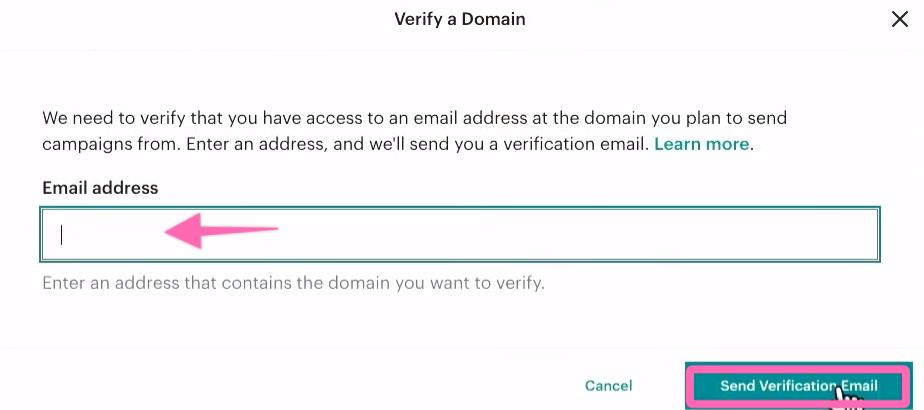
- Enter your email address and click “Send Verification Email”. Click on the email in your inbox and verify.
-
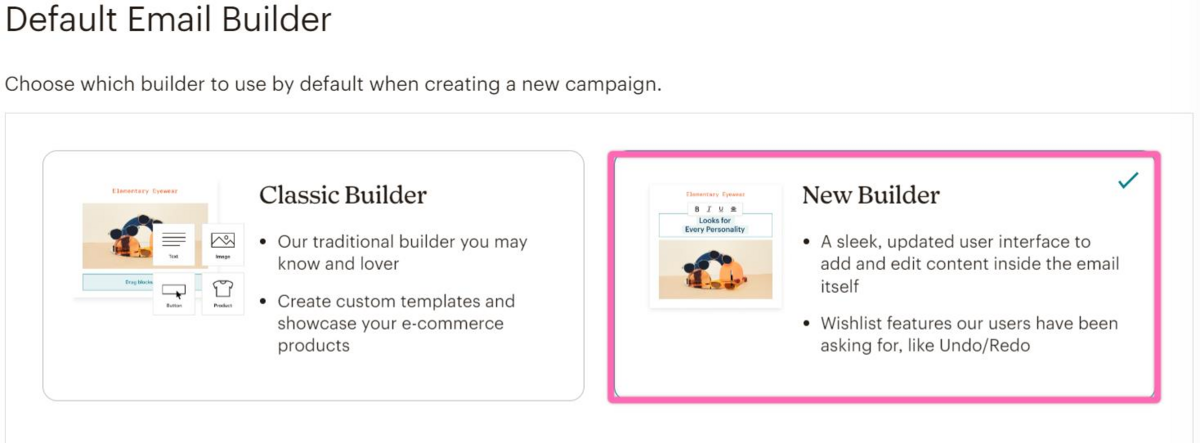
- Next, we recommend choosing the new and default email builder.
-
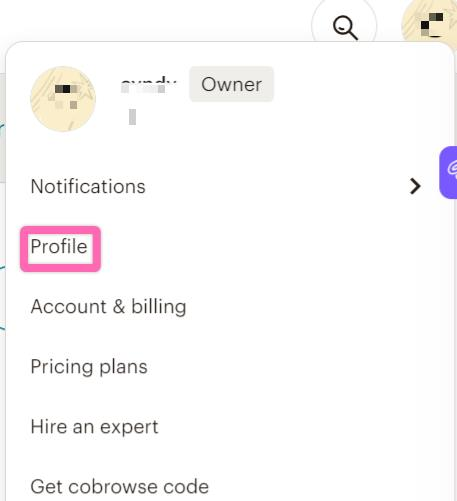
- Click on your profile photo on your top right and click “Profile”.
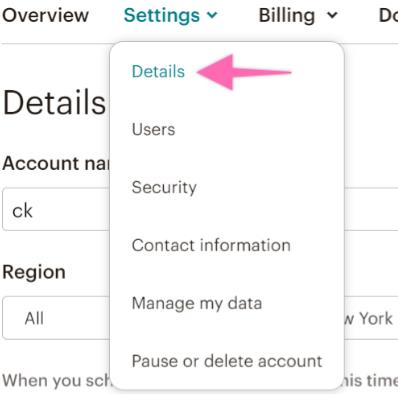
- Next, under “Settings”, click “Details”.
- Click on your profile photo on your top right and click “Profile”.
-
- Scroll down and select “New Builder”. This will be in default mode whenever you create a new email. The benefit of a new builder allows you to edit your content inside the email itself with its updated user interface.
Writing an awesome welcome email
Unlike many other elements of digital marketing, there’s no actual recipe for how to write a truly compelling welcome email. A large part of it depends on the type of business you own and the type of audience you target. Beyond that, though, some basic rules will help you make sure your welcome email is really attractive.
Here’s the basic structure you should follow to create an email template. Of course, you should adapt this to your own needs, so that your welcome email is unique and fully coordinated with your brand.
- Start with greetings. Show your gratitude for the amazing subscriber you’ve just earned!
- Set expectations. Explain the value your subscriber will get for being part of your subscribers’ list, as well as how often you will email them.
- Tell them something about you. This will help you build credibility in your brand (and in you, as the representative of your brand).
- Include a call to action. It can be any of the following options:
-
- Invite them to check some of the most popular articles on your blog.
- Tell them to whitelist your email, to make sure they receive your emails.
- Ask them a question and invite them to this email to answer.
- Something else.
- Include your signature. This is pretty self-explanatory, but you might want to sign with something simple and easy to remember (e.g. your name or your name and surname, probably not Princess Consuela Banana hammock 🙂 ).
- Include a headshot. This is completely optional, but, again, it will help you increase your credibility (especially if your actual name is Princess Consuela Banana hammock).

Here’s the email we created as an example:
Hey,
Thank you so much for joining ClickMinded’s newsletter list! This is THE place to learn digital marketing – so you won’t regret subscribing. We’ve got a lot in store for you – from Emoji news to the latest tips in the digital marketing industry!
I’m Tommy, CEO at ClickMinded. I’ve been doing SEO for more than a decade (whew!) and I created Clickminded to help business owners like you reap more benefits from everything digital.
Some examples of what we do include our Six-Figure Project, as well as our articleon how to gather the best SEO intelligence for your website. Check them out –they’re really helpful!
Yours sincerely,
Tommy G.
Automating your awesome welcome email
Sending a manual email to every single subscriber is way too 1991, so you’d better automate this via MailChimp. It’s an easy process that can be set up in a matter of minutes if you follow these steps:
- Log into your MailChimp account.
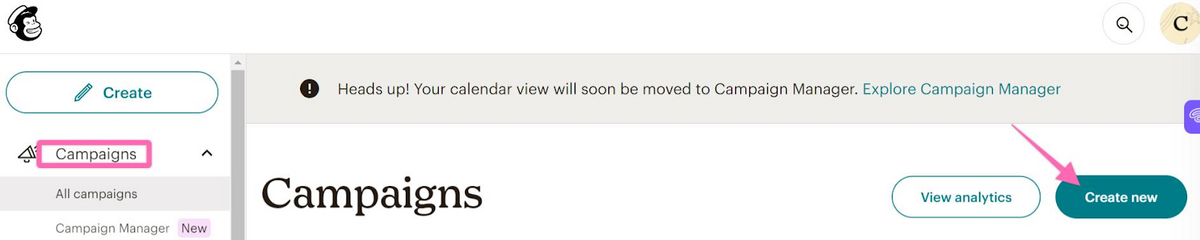
- Under “Campaigns”, click “Create new”.
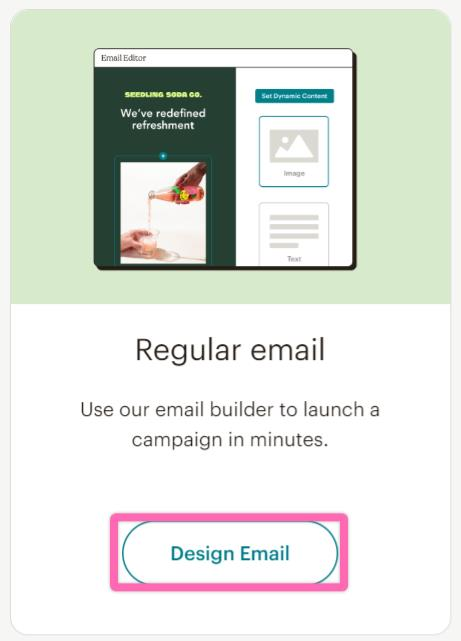
- Next, click on “Design email” under “Regular email”.
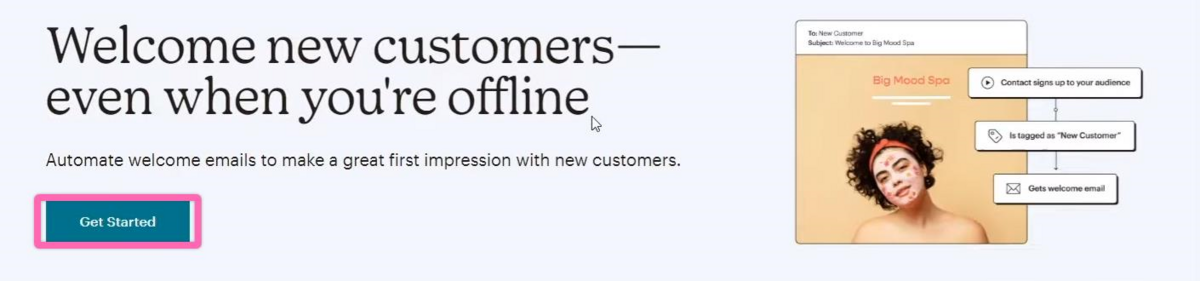
- Click “Automations” and “Get Started”.

- On the “Automation” page itself, select “Get started” again.
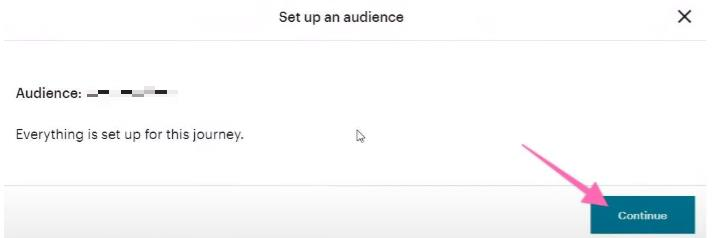
- Click “Continue” on the website pop-up.
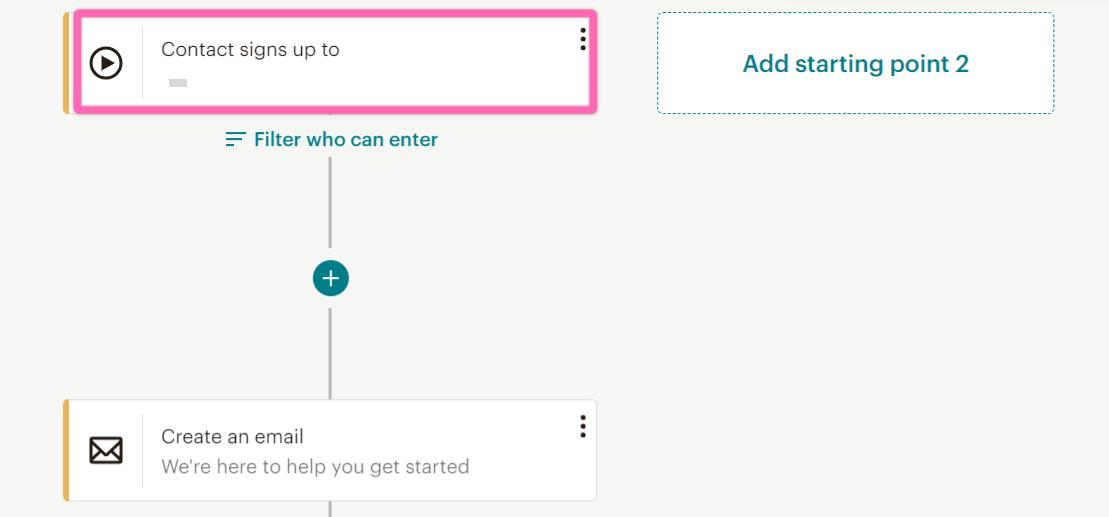
- Change your starting point by clicking on the first box you see on the page.
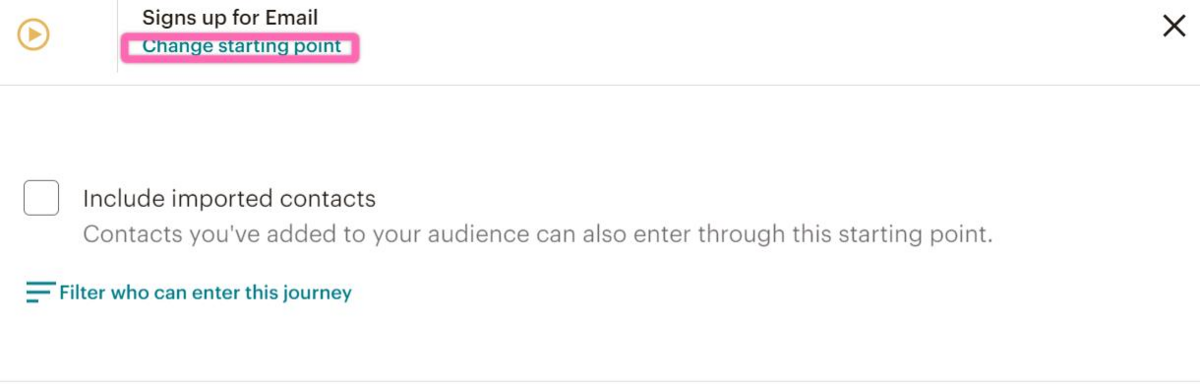
- Click “Change starting point”.
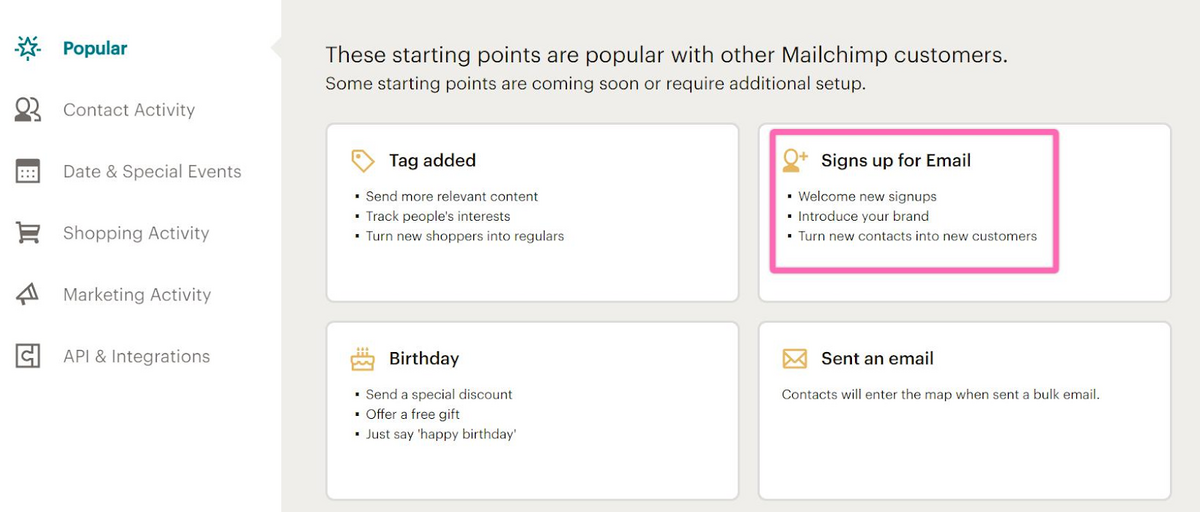
- Depending on the objective and goal of your email campaign, select one of the starting points offered by Mailchimp. For this SOP, we will select “Signs up for Email”.
-
- To build the flow of automation, you have the option to add more than one starting point.
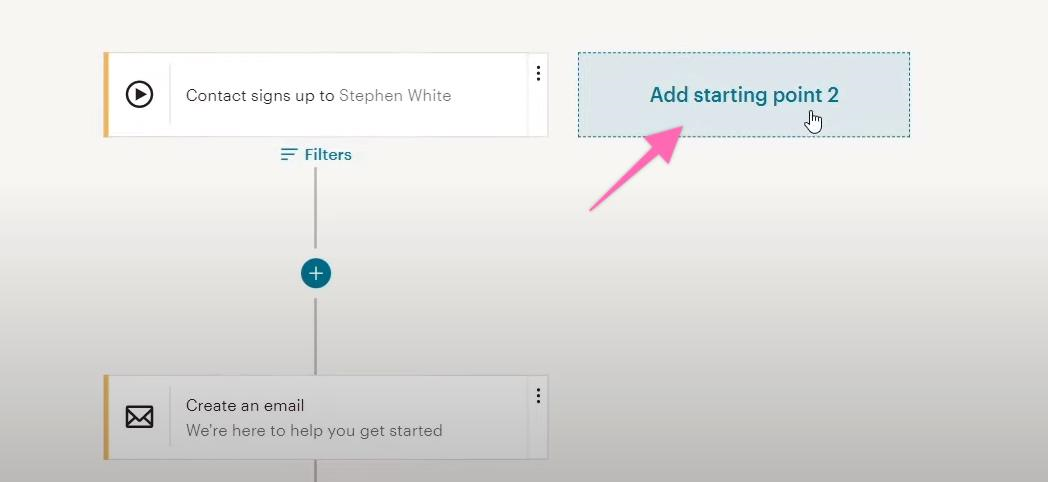
- To build the flow of automation, you have the option to add more than one starting point.
- Next, it is recommended to add a “Journey point”. This allows you to add a rule and an action. We suggest selecting “Time delay” as a rule so that emails are not sent out too regularly and make it seem like an automated bot.

-
- It is also recommended to have an action where you can send an email with a survey to collect necessary information for your business in the beginning. This journey point comes after creating an email.
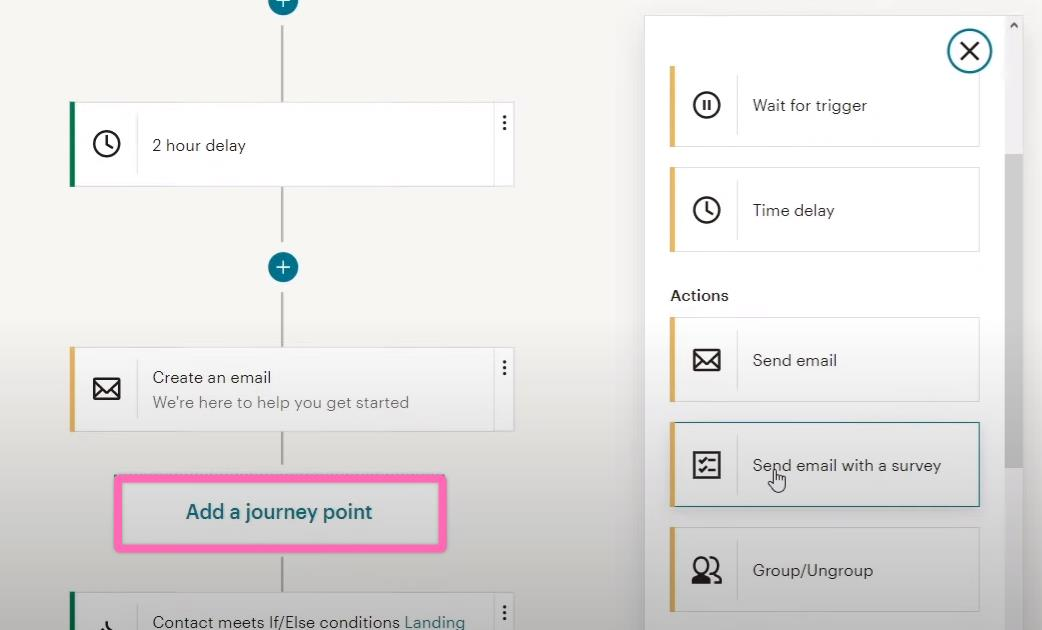
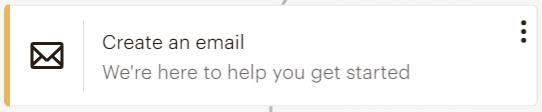
- To “Create an email”, click on the box as shown below and start designing your email with your content using Mailchimp’s templates.
- It is also recommended to have an action where you can send an email with a survey to collect necessary information for your business in the beginning. This journey point comes after creating an email.
-
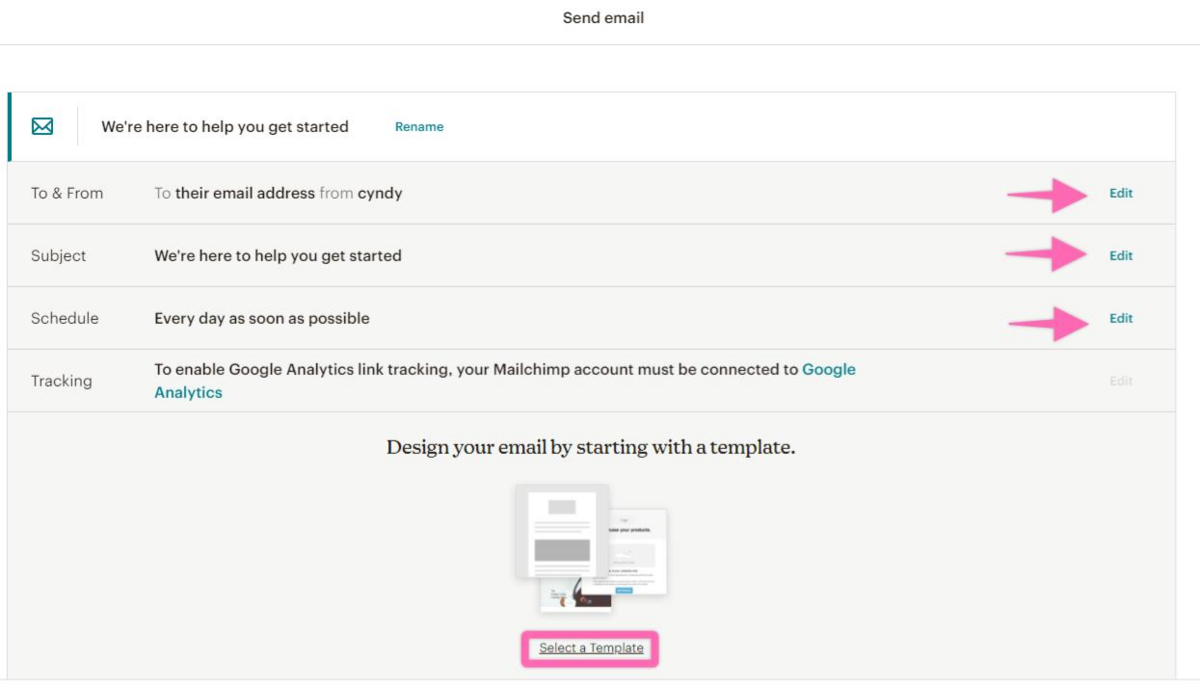
- Scroll down and click “Select a template” after filling out the necessary details. Click “Edit” to input the details of “To & From”, “Subject”, and “Schedule”. We recommend applying “Tracking” via Google Analytics. For more integration information, please click here.
- From here, you have the option to play around with the email design. Our recommendation is to use a plain text email design. Not only is this the easiest way to go about this, but it will also feel less “marketing-y” and more human – which is precisely what you are aiming for if you want to boost credibility, engagement, and customer recurrence.
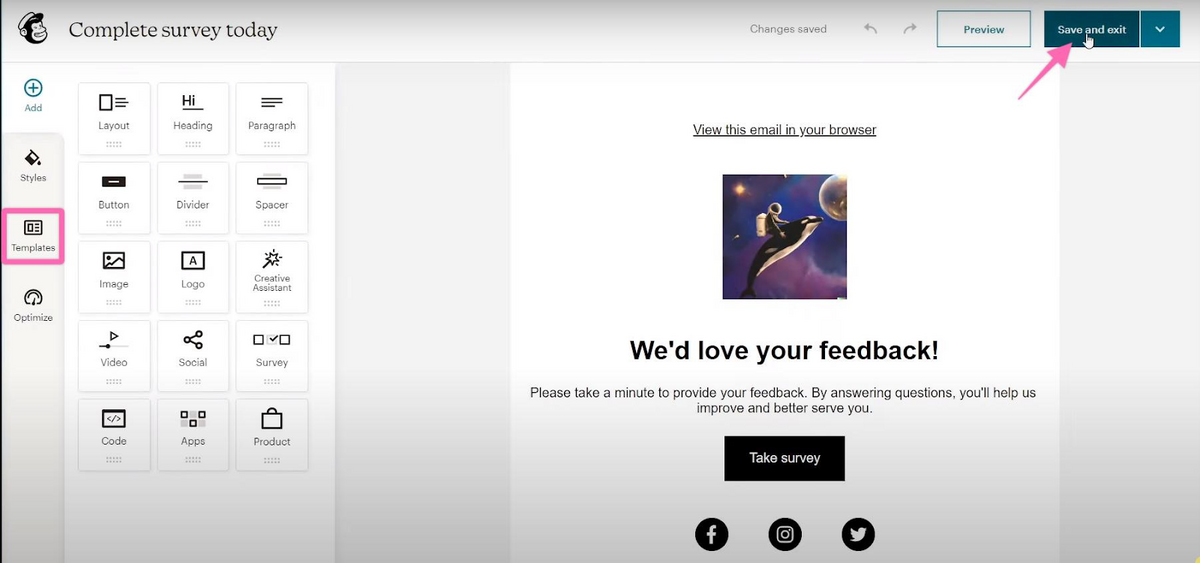
- Choose a Mailchimp template and add your email content and images by clicking on actual boxes. Edit the actual text/images in the box that will appear on the right side of the screen. Once done, click “Save & Close”.
There you go, you have created your very first welcome email in MailChimp! As easy as 1-2-3, right? Trust us when we say, your subscribers will appreciate this warm welcome into your business!